


Using the Operation Tree and Tool Tree
Introduction
This example uses the Mill_Express.
The Operations Manager
The purpose of the Operations Manager is to provide a way to keep your tooling and output organized through:
The Operation Tree
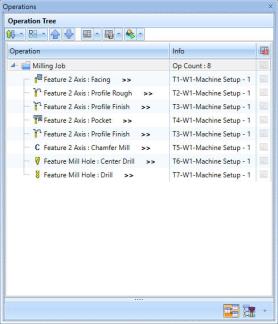
The purpose of the Operation Tree is to take the place of the old Machining Order dialog by providing a better way to keep the output of your operations organized. It allows you to see all your jobs, their machine setups, and the operations in those setups in a single list, in the order they will be output.
The Tool Tree
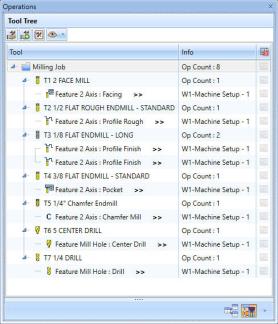
The purpose of the Tool Tree is to provide a way to keep your tooling for the current jobs organized. Whether or not each tool in the Tool Cribs of the file is used by an operation, every tool is shown in the Tool Tree. Any tool used in an operation will least each of the operations it is utilized by. Tools in the Tool Tree can be replaced, can have operations that utilize them updated, can have their operations recomputed, and can be posted.
Example
Part 1) Open the Example File
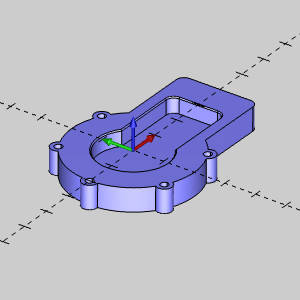
The first step is to open the finished Mill Express CAD model from the Demo Files folder, and then use Save As to rename the file. It is good practice to properly name your files and save them often.
- In the Quick Access Toolbar, at the top left of the application, click
 Open an existing document.
- Navigate to C:\BobCAD-CAM Data\BobCAD-CAM **Current Version**\Examples\Getting Started, and select Mill_Express.
- Click Open.
The part opens in the graphics area. - In the CAM Tree, blank all items by:
- Click the
 Blank/Unblank icon next to Milling Job in the Extended CAM Tree.
If you do not have this option, see the Settings: System Tab topic to find out how to utilize the Extended CAM Tree. - Right-click Milling Job and select Blank/Unblank All.
- Click the
Part 2) Operation Order
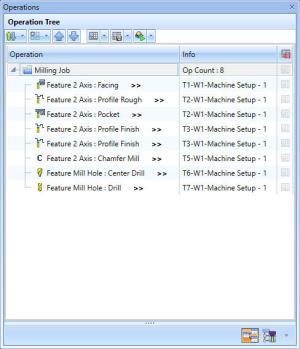
- In the
 Operation Tree icon to open it.
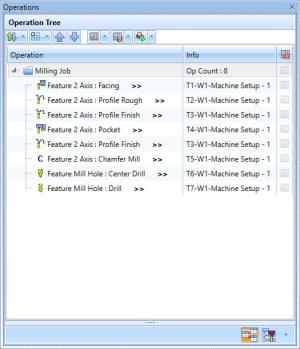
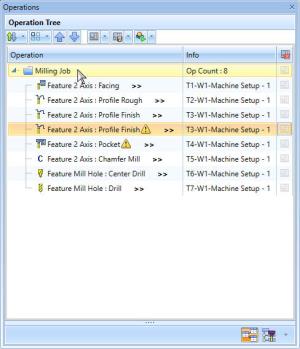
The Operation Tree becomes available. - Notice we have eight total operations with only one tool repeated:
| Profile Rough: T2 | Profile Finish: T3 | Pocket: T4 | Profile Finish: T3 |
|
|

|
|
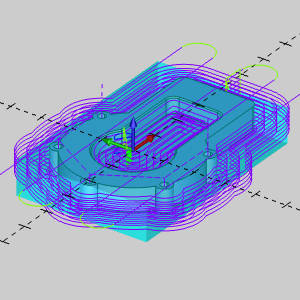
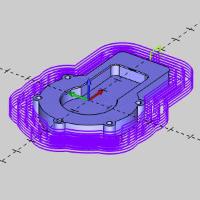
Clicking on each of the operations in the Operation Tree will highlight the toolpath in the graphics area.
-
Ideally, we would rather not change tools, just to change right back, so for this example we will move the finish passes together.
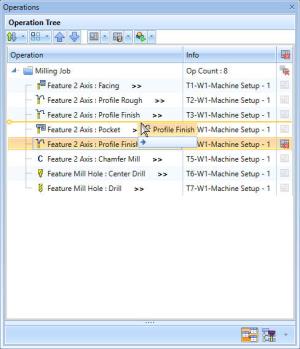
In the Operation Tree, click and hold the second Profile Finish and drag it under the first.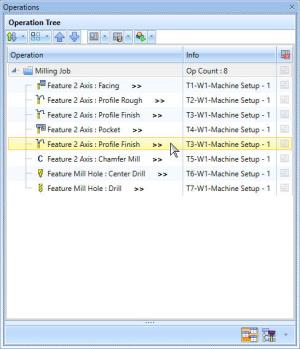
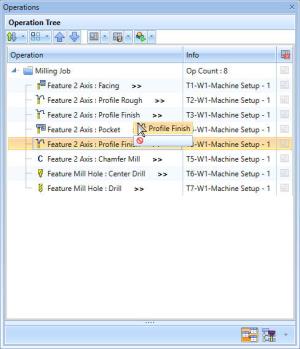
Notice we are unable to do this. The reason is moving the finish in front of the rough would violate the feature order, and is generally not a good idea.
Part 3) Overriding Feature Order
-
Let's assume for a moment there is a reason for this and we know exactly what we're doing.
We offer a way to get around this, by setting the operation to Post No, and then moving it into position.
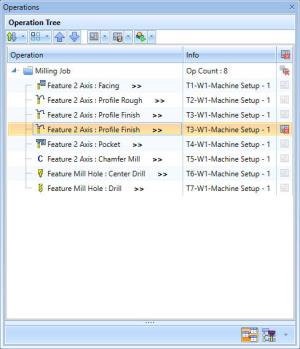
Set the operation to Post No by clicking the icon in the extended CAM Tree, or by right-clicking the operation and choosing Post Yes/No.
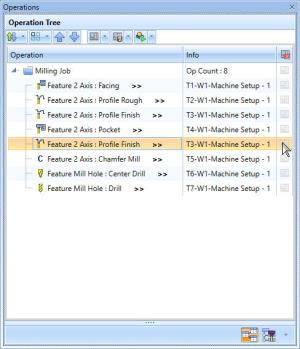
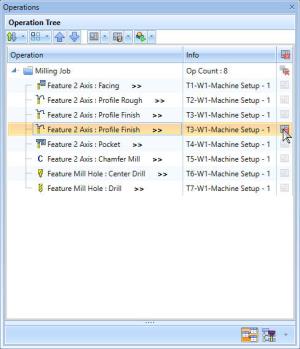
The operation is set to Post No, and the Milling Job is set to the third state icon showing us that not all our operations are being posted. -
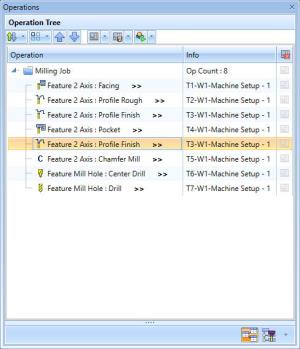
Now drag and drop the second finish under the first.
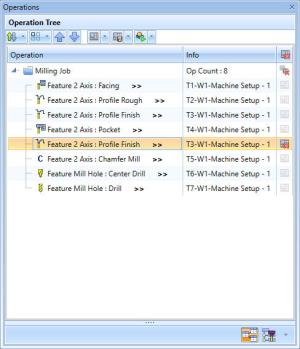
The position is updated. -
We can now set the operation to post the same way we set it to Post No.
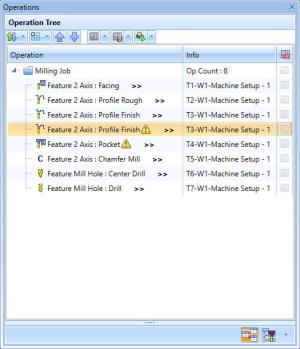
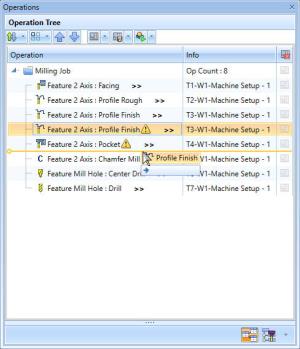
The operation is set to post, and warning icons are shown on the two operations whose feature order has been violated.
Part 4) Posting with Order Violations
-
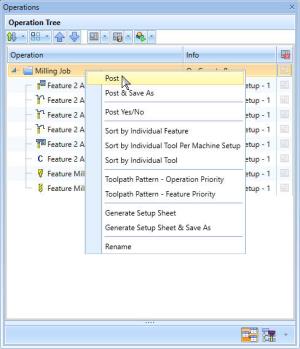
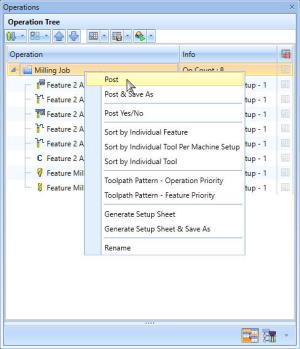
To post the program in the order it is currently set, right-click the Milling Job and select Post.
The following dialog appears as a final chance to make sure you are sure before posting: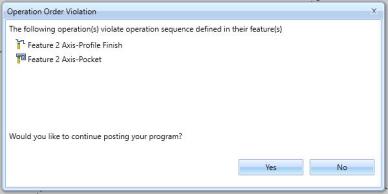
-
Click Yes to post the program.
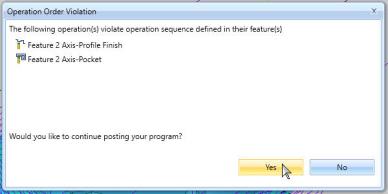
The program is posted.
Part 5) Updating the Order
-
Drag and drop the second finish under the Pocket operation.
The order is reset. -
Once order update which would make more sense would be to put the Pocket operation after the Profile Rough operation.
Drag and drop the Pocket operation under the Profile Rough.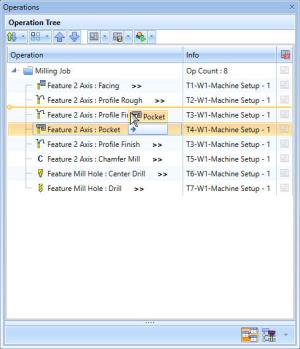
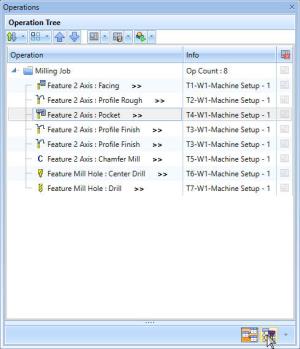
The order is updated, and the two operations using tool three are now done one after the other.
Part 6) Updating Tool Assignment
-
In the
 Tool Tree icon to switch to the Tool Tree.
Notice the Profile Rough is using a 1/2 Endmill, while the Pocket is using a 3/8 Endmill.
In this case there is no reason we cannot use the same 1/2 Endmill on both operations. -
Under tool four, click and hold the pocket operation and drag it under tool two.
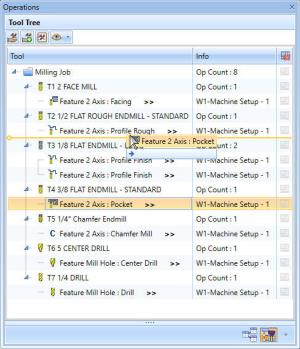
Tool two has now been assigned to the pocket operation.
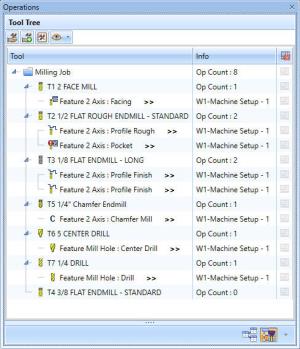
Notice the warning icon on the pocket operation. This shows the operation needs to be recomputed due to the tool assignment update.
Also notice tool four now has no operations assigned to it. -
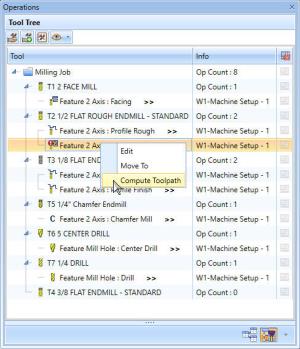
Right-click the Pocket operation and select Compute Toolpath.

Part 7) Updating Tool Numbering
-
Now that we have shuffled our operation order, we update the tool numbers to reflect our current order.
In the quick access menu, click Tool Crib.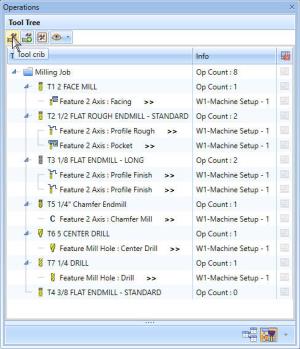
The Tool Crib opens.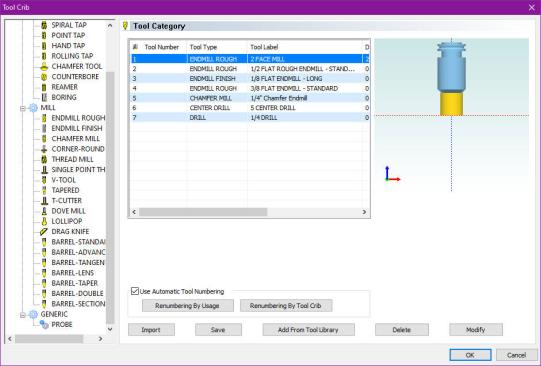
-
Currently tool four is still the 3/8 Endmill no longer being used by the operations.

Click Renumbering By Usage.
-
The tool numbering is updated.
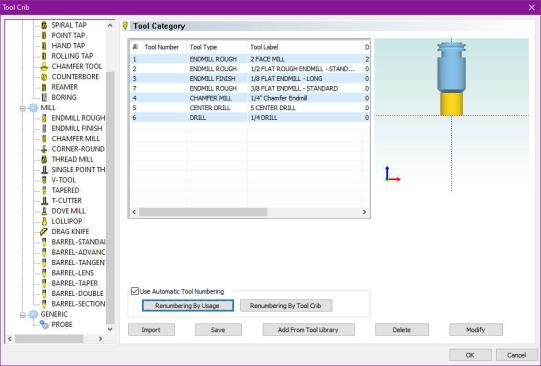
Click OK to exit.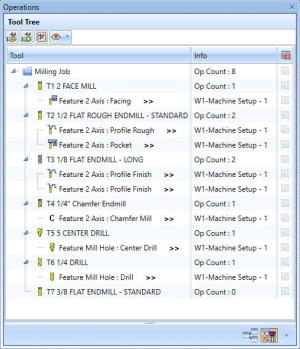
Part 8) Posting the Program
- In the Operation Tree icon to open it.
The Operation Tree becomes available. - Right-click the Milling Job and select Post.
The program is posted.
This concludes the example